
Files can be added from the home page, as part of a general chat or within an assistant. Adding files to a general chat “asks” the AI chatbot to interpret or interact with that document. Adding a file to an assistant equates to adding that information to the assistant’s knowledge base. Due to the current limitations with Show-Me AI, we suggest a limit of between five and ten files per query or assistant.
Adding files to a chat
To add Files, select the plus sign at the bottom of the home page (See Fig. 1).
Image
Figure 1: Location of the add files icon.
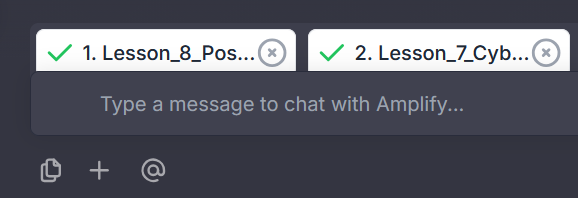
Select the files to be uploaded from your device. Once added, the File will appear as a tab above the chat prompt box (See Fig. 2).
Image
Figure 2: Available files for the chat prompt.
To delete a File, select the x icon to the right of its name (See Fig. 3).
Image
Figure 3: Location of the delete File icon.
- Your files can now be incorporated into your prompt. Within the prompt state how you want the files used, e.g., “review these documents for…” or “from the information in these documents, give me the following…”
Adding files when creating an assistant
When creating a new assistant, you may add files within the Upload Data Sources section.
Open an Assistant (see Fig. 4).
Image
Figure 4: Location of the Assistant creation icon.
- Scroll to the Upload Data Sources section. You may choose to add files that you have already imported into Show-Me AI, or you can add new ones. Please note that it may take a few minutes for your files to upload.
To include files already within your account, select the Add Files icon, then select the needed files (See Fig. 5).
Image
Figure 5: Location of the add Existing Files icon.
To add additional files not already within Show-Me AI, select the + sign icon, (See Fig. 6). This will open your device’s files so you can select which to import.
Image
Figure 6: Location of the add new files icon.
Adding files to an existing assistant
You may always add more files to an existing assistant.
Locate and hover the mouse over the assistant you want to add more files to. Then, select the edit icon (See Fig. 7).
Image
Figure 7: Location of the edit icon for an existing assistant.
Scroll to the bottom of the window, then select the plus sign under Upload Data Sources section (See Fig. 8). A new window will open showing you files saved on your device.
Image
Figure 8: Location of the add files icon within an assistant.
A new window will open showing you files saved on your device. Select and open the needed file. It may take a few moments for the file to load into the assistant. Once the file is loaded, it will have a green checkmark indicating it has been added and will appear underneath the Upload Data Sources section (See Fig. 9). Any files previously added will be visible under the Assistant Data Sources field.
Image
Figure 9: Checkmark next to file name confirms the file has been uploaded.
- Select the Save icon to save your changes.
